Today on here I am going to expose the second aspect from the room I posted about on Monday, that I transformed. This element is definitely a DIY project but it's also a Before and After and was contingent upon finding the right piece to make the whole thing go. So with out further ado, the piece I'm talking about is:
THE RED CREDENZA
I suppose we could also call it a sideboard, buffet, entertainment center (since that's what it's being used for here), or chest/dresser. Either way, this piece of furniture looked VERY different when it first came to live with me. I bought it off Craigslist from the coolest couple. The girl who sold it to me actually has a business of selling sweet furniture that she finds from thrifting, estate sales, garage sales, and the like and then tries to resell it (which means I definitely paid more for it than she probably found it for :) but I'm still excited about the deal I got. She is also an interior designer and has a business with her sister called The Property Sisters where her sister does construction renovation and she goes in after and adds her magic interior designer fairy dust. Hmmm... Something about that seemed strangely familiar... I wonder why? ;)
Anyway, THIS is what the piece looked like when I bought it from her:
I mentioned in my first post about my living room, here, that I really wanted a glossy red TV stand/entertainment center to go in the space and once I had put it in writing, the wheels had already started turning and there was no going back. Therefore, when I saw Little Green Notebook's* blog post on painting one yourself (and it actually turned out looking good) I decided that was the only way I was going to get my dream piece.
*Sidenote: if you don't already know about Little Green Notebook blog, it is like the mecca of all things DIY. I once spent 4 hours just reading a bunch of her posts. Good stuff, people.
Basically, this entire project can be completed with a basket full of these puppies:
Found at Home Depot... where else?
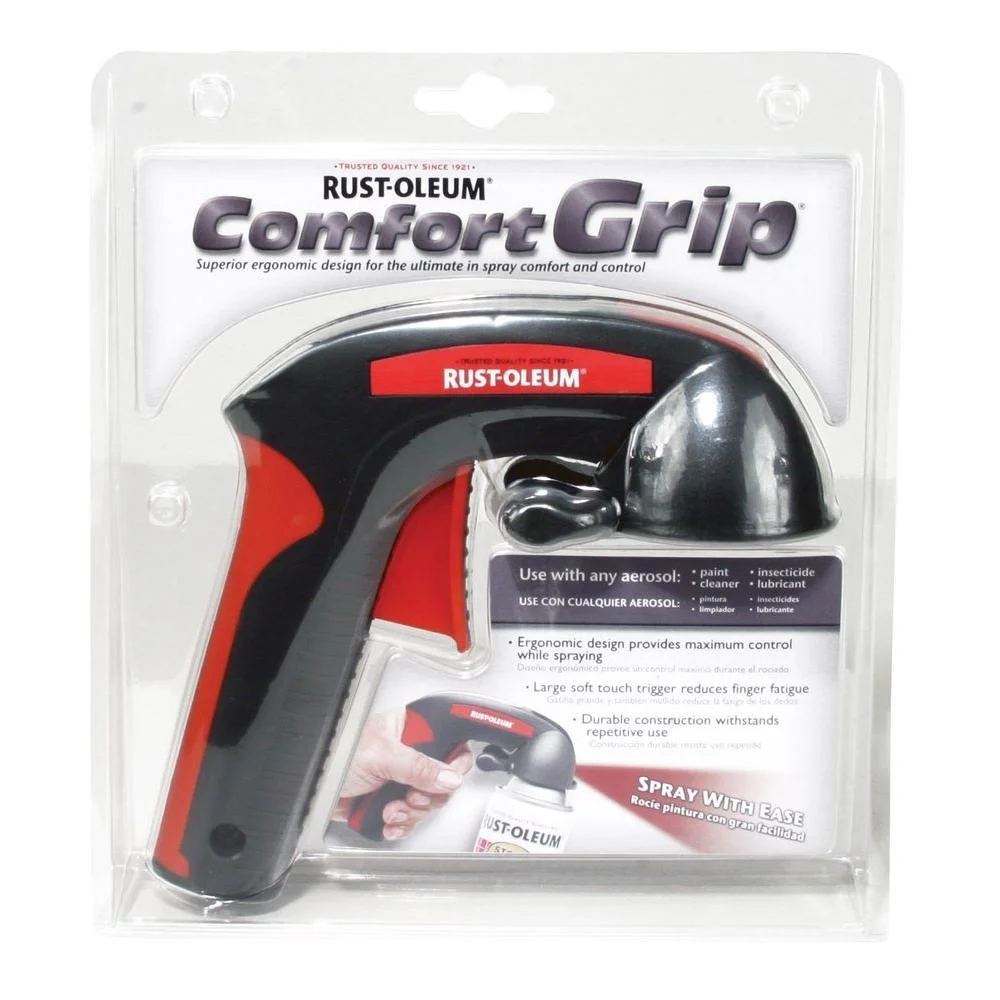
And frankly this:
It's $6.99 at Home Depot and is seriously the best thing since sliced bread. And since a lot of other really cool innovations as well. This tool has been revolutionary for me, it makes spray painting SUPER easy and I definitely could not have completed a project of this scale without it. I mean, there's no way. An index finger lifesaver.
So... those crazy red cans of paint are going to give you this fire engine red color. But DO ME A FAVOR and make sure to put down drop cloths (can be plastic) anywhere the eye can see. This stuff loves to travel. Keep it on the DL but when I painted this piece, I thought I had ample "protection" and after I was finished, my entire concrete carport area had a pink film layer on it... and I'm a renter. I was frantically looking into renting a power washer, which would have eliminated any of the economic benefits I thought I was getting out of this project. THANKFULLY, with the help of my amazing roommate, who found me on my hands and knees sanding every inch of our concrete driveway, we were able to get it up with a heavy duty mop and a hose. PHEW is all I can say on that. So be careful and make sure every inch is covered because this color does not exactly "blend in."
"Oh SHIT!" This photo was taken at that moment when... you start having a heart attack... I probably shouldn't even be showing this to you guys but... it's all cleaned up now so, no matter :) But keep your mouths shut, ok?? All in all, my drop cloths were pretty useless.. so, don't make the same mistake I did. And that's why I'm showing you all this photo.
After I had painted it (and it had dried) it definitely didn't have that sheen that I was hoping for. I don't know if Jenny did something to her's after she spray painted it with the Rustoleum but... she must have because this particular paint just isn't that glossy. Luckily for me, my dad had a paint spray gun and we (my dad and I) got a can of clear glossy paint that w̶e̶ he sprayed onto the credenza after we sanded it (with a light 120 grit sandpaper). It needed to be sanded quite a bit as my spray paint job was no where near even and it showed.
Those plastic drop cloths look straight out of Dexter. Eek!
It actually took about 4 coats of the clear glossy top coat but I'm so glad we added as many as we did because with each additional coat it just got glossier and the finish became stronger and more durable. AND, if I do say so myself, the top of it looks like glass. What IS it about a lacquer coat that is so yummy?!?! Painting the clear coats on the piece took a long time because it takes a while for the coat to dry before you can add another one... like several hours, so it turned it into a multiple day project. You also need to be careful to stand a far enough distance away and quickly but evenly go over every part of the piece so that the paint doesn't get too thick in some areas and then begin to run. If it does start to run (and it will) just wipe the whole area off with a paper towel right away before it starts to dry and then go over it with the gun again, so you get an even spray.
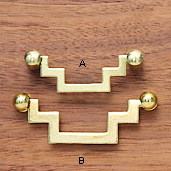
After the paint process was finished, I added these two types of hardware to it and then no joke, started squealing.
I think it turned out perfect and makes such a statement.
I was also able to take out drawers that were on the inside of one of the doors and put the TV entertainment equipment in there. Snazzy!
Keeley Kraft officially LOVES IT!


