Welcome back to the blog today! If you missed yesterday's post, you should probably go back and read it because it was awesome (duh) and also because this post is an extension of it. I mean, if you feel like it, of course :). If you're tuning back in with baited breath, you can relax now because I'm just going to jump right in here and not even make you work for the big reveal... And, go....
My hope is that you could not figure out which elements of the room [I posted about yesterday], that I had made my "projects" because the quality appeared so professional! And in going with the assumption that that is true, I will henceforth reveal the first DIY project element and flabbergast you. It was:
THE STRIPED CURTAINS

(Cue: "Oohs" and "Ahhs")
Impressed? I knew it. :)
Anyone that's ever considered putting custom drapery in a room knows that curtains can get EXPEEEENSIVE. I had had this nagging vision that I wanted green and white striped curtains in this room and I wanted the green to match the army green on the chairs I had reupholstered. When my mind settled on the idea, it suddenly seemed as if NOTHING ELSE would do. Since I knew that exact thing within my teeny tiny budget was going to be next to impossible to find, I quickly found myself spiraling down a rabbithole of hopeless brainstorming and strangely but miraculously came out with a plan (that is not normally how my design inspiration happens but in this case, that's truly how it felt):
By some insane twist of fate, I came across this brilliant idea on the interwebs about painting stripes on paint drop cloths and turning them into curtains. SHEER GENIUS! I wish I could take the credit for being THAT creative but... I would feel too guilty and then the credit wouldn't be worth it :). But, nonetheless, it was the perfect solution to my nagging need: an affordable option AND it offered the ability to color match the paint to the fabric on the chairs (using Home Depot's trusty color match computer tool). Problemo solved-o.
So here is my step by step process of how to create your own Striped Drop Cloth Curtains (.... Home Depot probably needs to stock up on canvas drop cloths STAT after this post drops :):
First I measured the window/door heights AND the ceiling height. (As you may recall from my "Breaking Bad Design" post, you should try to hang your curtains closer to the ceiling as higher curtains will make the room feel taller).
I then found Home Depot's best fitting CANVAS drop cloths based on the sizes I had measured - I went with 6' wide and then had my tailor hem both of the other ends with a 3" wide "fold-over" hem on each of the other ends to match my ceiling/floor measurements (I subtracted only about 2.5 inches down from the ceiling to account for the rod and ring height and to add about a 0.5" drag on the floor - which was based on personal preference :)
After that, I bought the following supplies at the ol' H.D.:
BLUE PAINTERS TAPE
(1.5" - the thicker the better as it will give you a better margin for error (literally) when painting)
LATEX PAINT IN THE COLOR OF YOUR CHOICE
(I got a gallon for 4 curtain panels - which was probably about 1/2 a gallon too much)
FABRIC MEDIUM
(this stuff I actually had to get at Michael's, they do not sell it at Home Depot - it goes into the paint so that your paint doesn't crack once it dries on the fabric. You will need about 3 parts latex paint to 1 part fabric medium - it comes in very small bottles at Michaels, so don't be alarmed when you're walking out of there with about 10 bottles, if you're painting four panels)
FOAM ROLLER - 4" SIZE
2 REPLACEMENT FOAM ROLLER CYLINDERS - 4" SIZE
PAINT TRAY
PAINT MIXING STICK
(should be $FREE.99)
PAINT MEASURING BUCKET
(for mixing your paint and fabric medium)
TAPE MEASURE/RULER
PENCIL
BUTCHER PAPER OR PLASTIC DROP CLOTHS
(drop cloths for your drop cloths)
Next, I laid out butcher paper on the ground so that my curtains wouldn't get dirty and so that any paint that bled through the fabric wouldn't get on the ground. Ideally, the drop cloth would hold the paint but given the massive amount of paint that we applied, a lot soaked through. The butcher paper protected the floor from any bleed through.
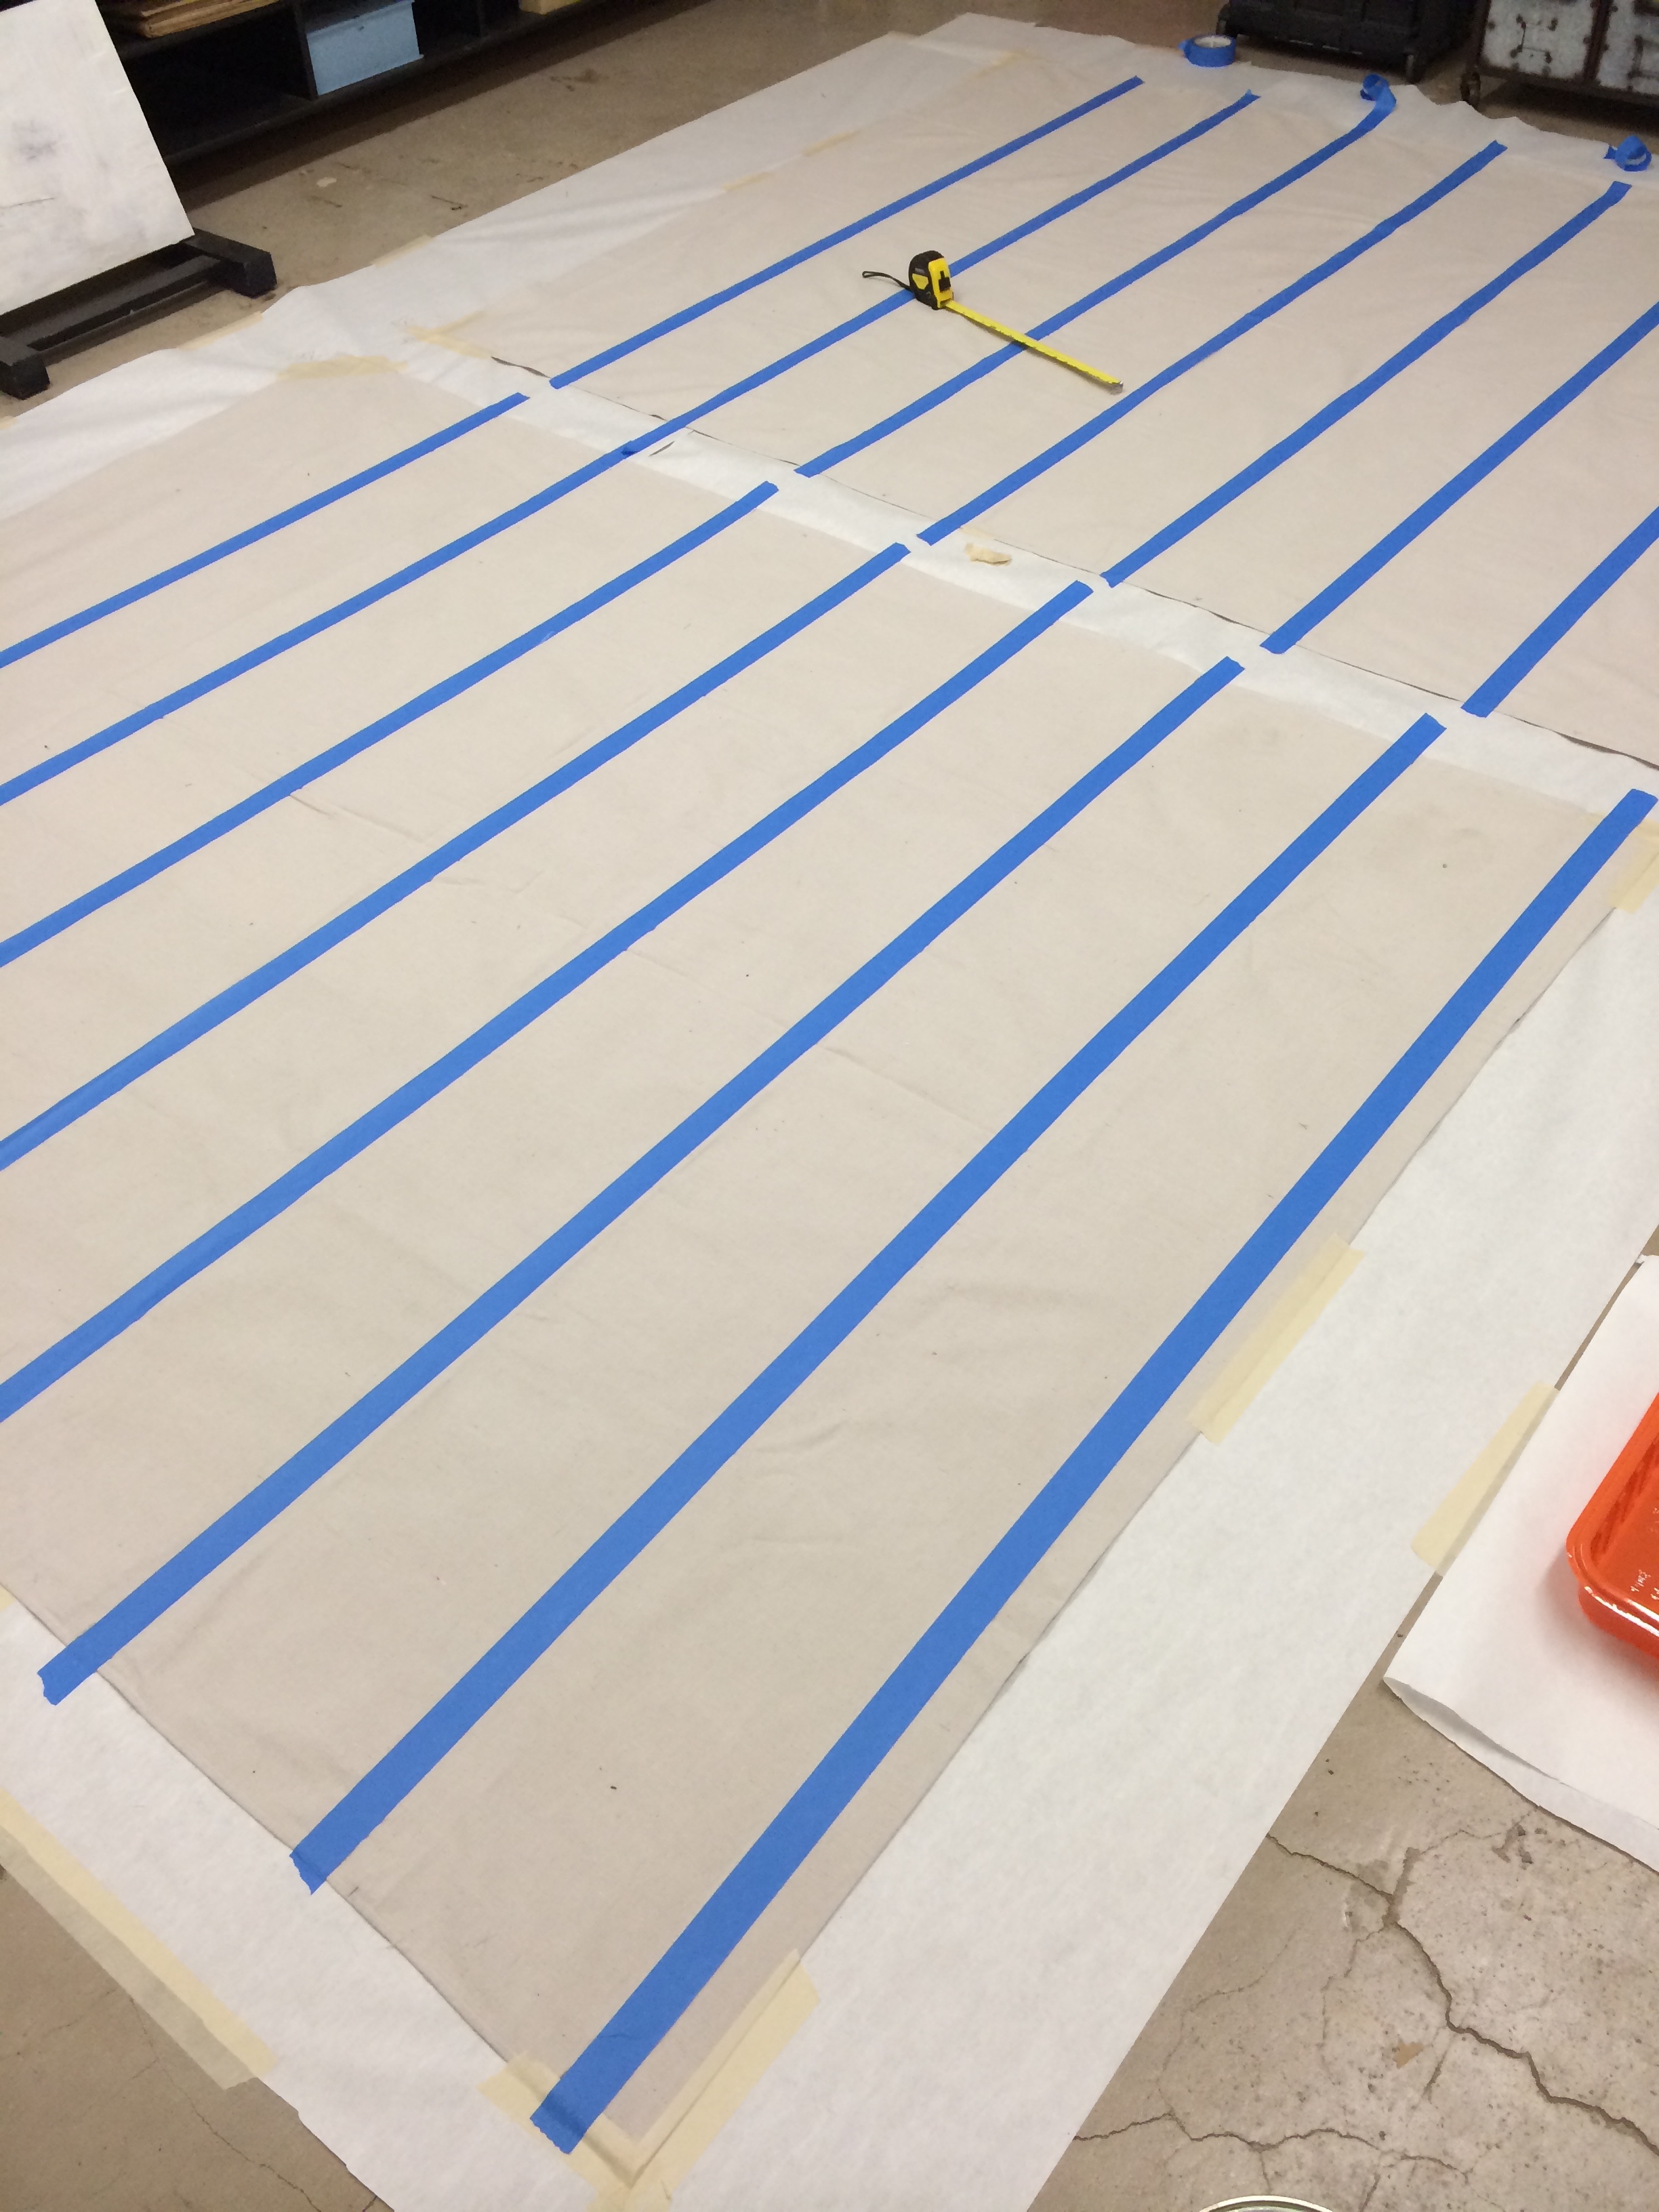
I then taped the canvas drop cloths to the floor, making sure to stretch them out as much as I could to create a flat surface, free of most wrinkles and guarantee that the fabric stayed in place during the painting.

After that, I measured out where I wanted my stripes. I measured 3" down from the top of the curtain and then measured 9" stripes with 12" in between each stripe. I made marks on each side of the curtain for where the stripes were and then, with the help of my "assistant," we carefully stood on each side of the curtain and brought a line of painters tape to the edge of the mark, pulling the tape taut, to almost snap the tape down and create a straight line. It seemed to work pretty effectively for creating a straight line.
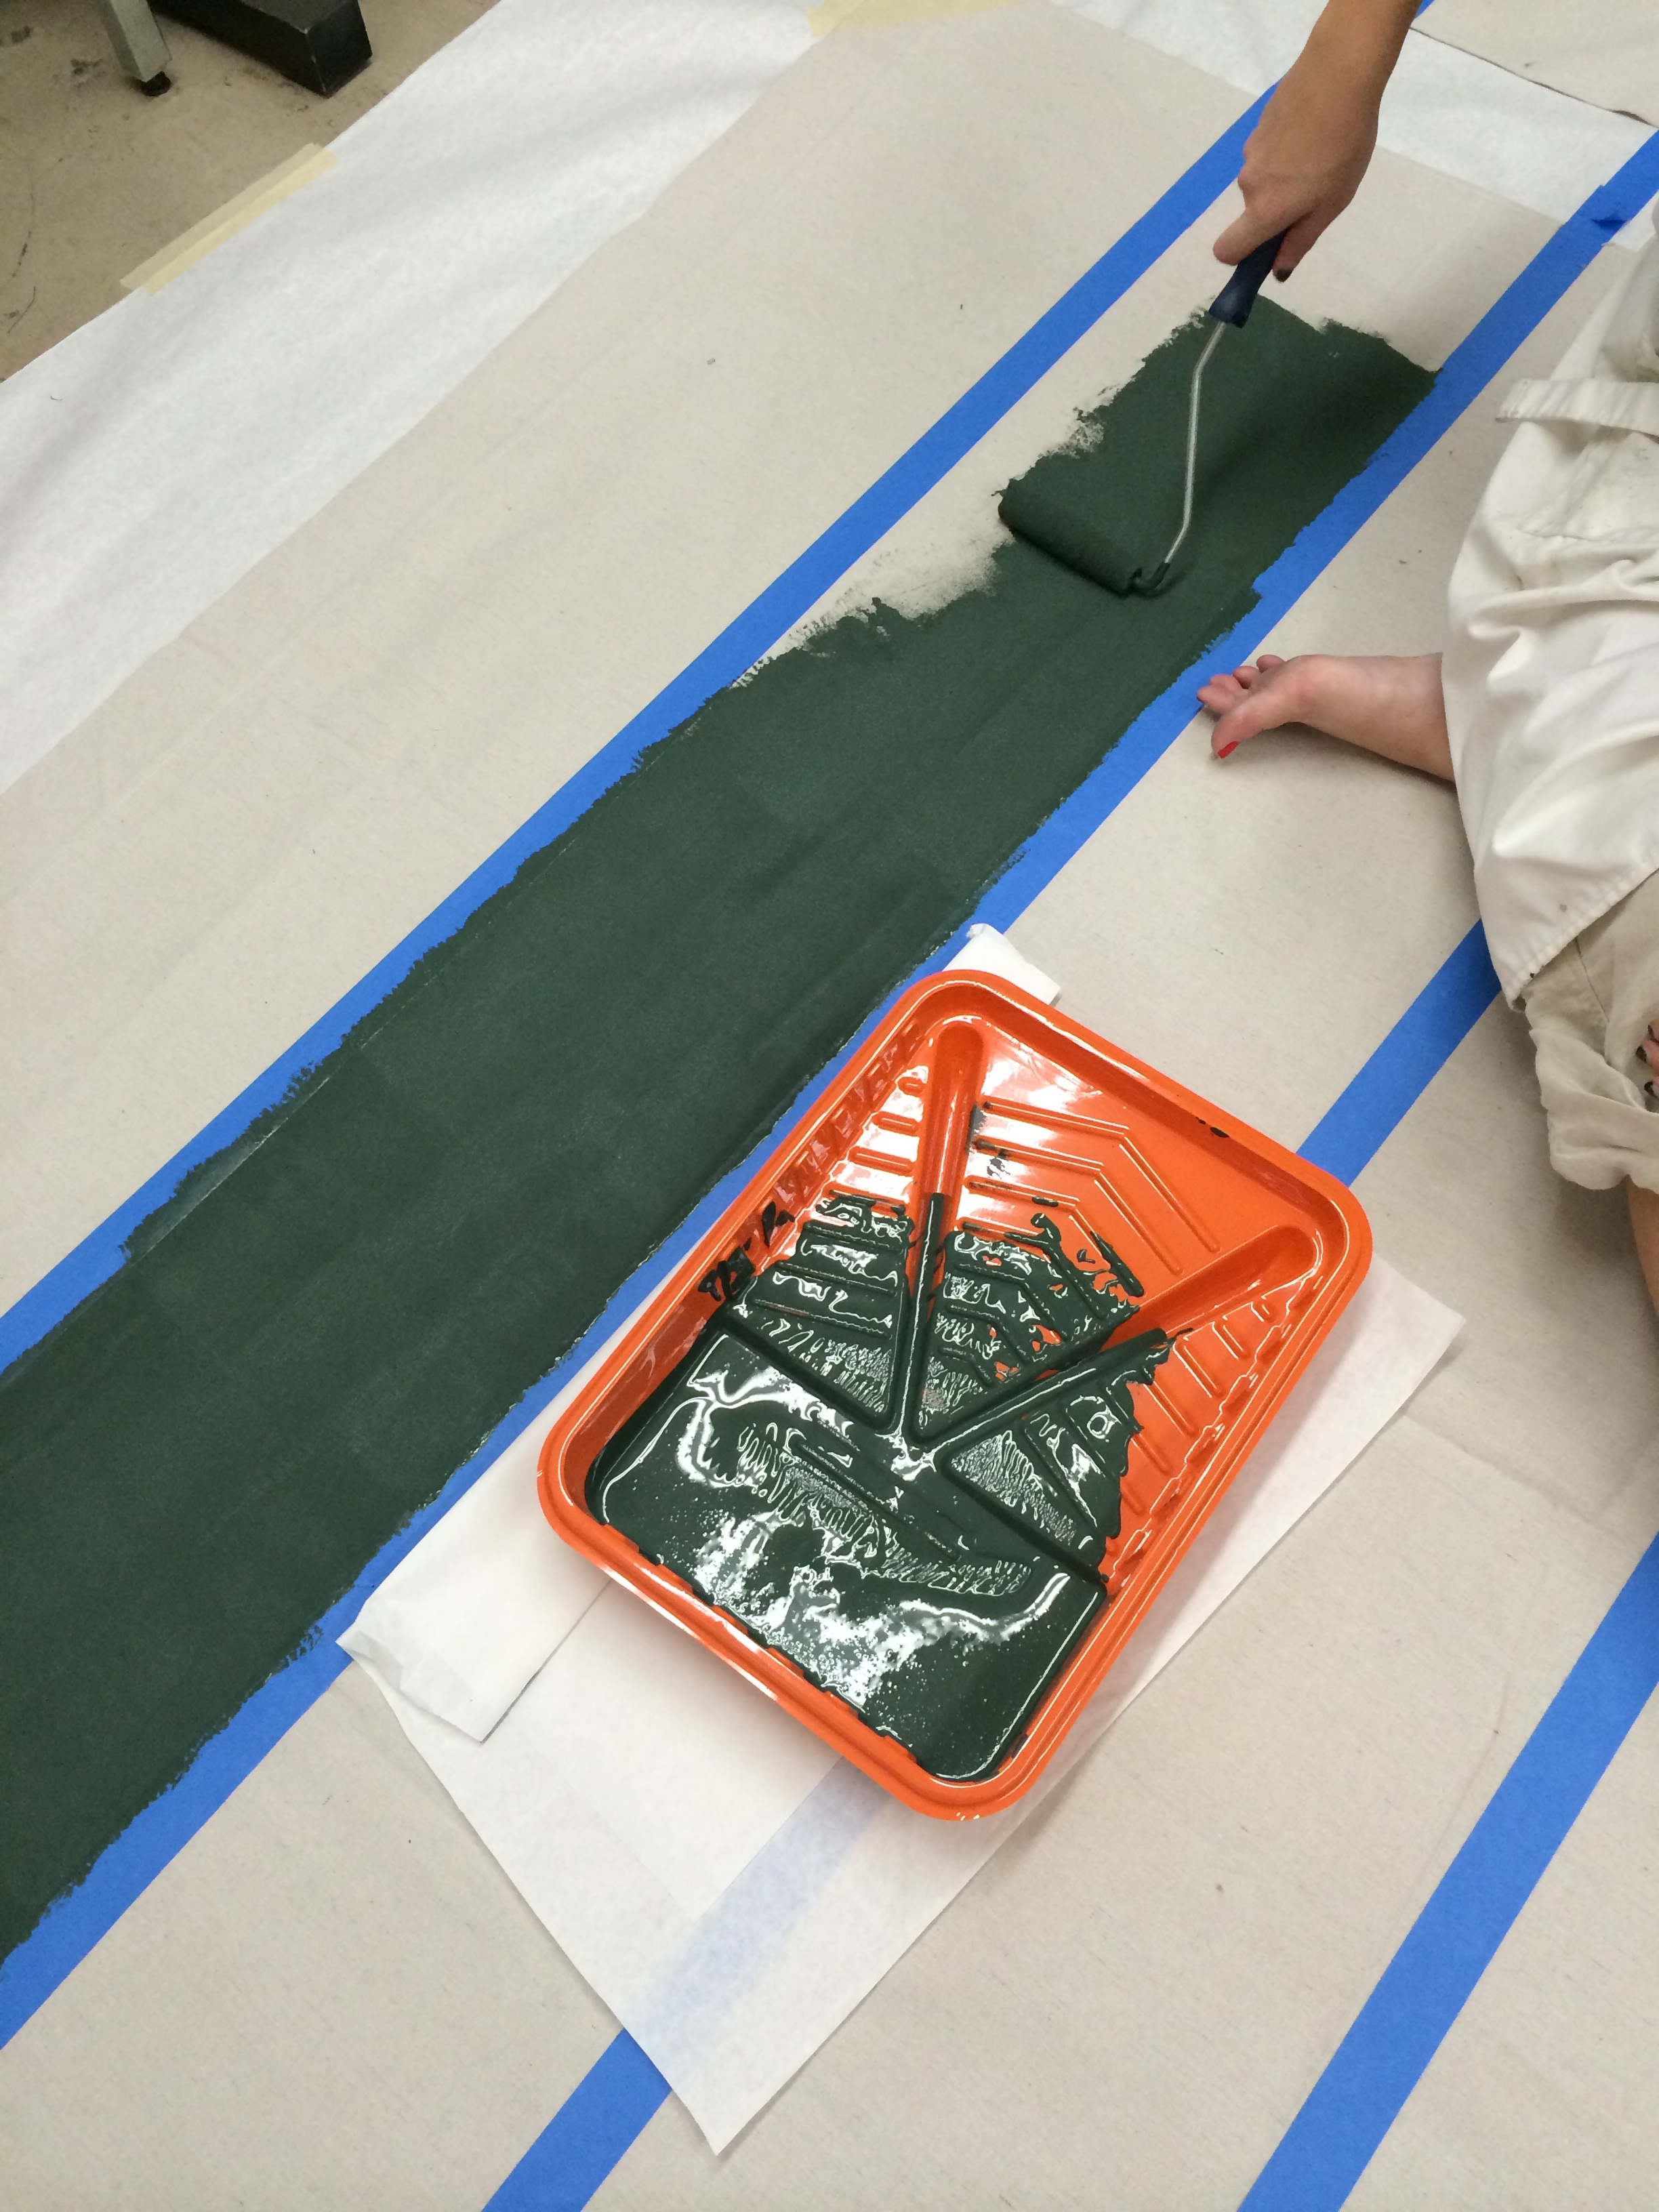
After I had laid out all of my tape, I measured out my paint and the fabric medium (3 parts latex paint to 1 part fabric medium) in my paint measuring bucket, mixed it together, and poured it in my paint tray. I kept a large sheet of butcher paper underneath my paint tray as I worked, in case there was any spillover when bringing the roller out of the tray (which there was).
Before I got to painting, I went over each of edges of the tape lines with my fingers, pressing down hard to make sure there were no air pockets in the tape where the paint could seep through. I cannot stress this enough because even though I thought I did a good job of this, I missed some spots and the paint went under the tape, compromising the perfectly straight line (which being the perfectionist that I am - KILLED ME). So don't make the same mistake I did - make sure that shit is pressed down!)
And now, it's finally time to paint. But if you're trying this at home folks, there's something I need to tell you first. My dad would would be beside himself if I didn't mention the most important aspect of a good paint job - as his first business was a painting business and his number one tip to anyone painting anything with a roller is this: YOU CAN NOT USE TOO MUCH PAINT. LIBERAL, LIBERAL, LIBERAL PAINT APPLICATION. IF YOU THINK YOU'RE SPREADING IT ON TOO THICK, YOU'RE NOT. The reason you want to be very generous with the amount of paint you put in each area is that, while you may not be able to tell while the paint is wet, once it dries, the coat will be too thin and you will be able to see through it. This applies to a wall or these drop cloth curtains. Another benefit to being plentiful with the paint is that it goes MUCH quicker. The first panel I did, I was pressing so hard, really using elbow grease and trying to get the most out of the paint - once it dried, there were white transparent spots on the fabric and I managed to go through one roller on three stripes because I was essentially shredding it. It also took me a lot longer because I was trying to make the paint last for too large of an area. Just use a generous amount of paint and knock it out in a jiff!
My foot looks so weird!
After each row/stripe I painted, I made sure to pull the painter's tape up right away. This is important because if you pull the tape up after the paint has dried, the line will not be crisp. I can't explain why that is, but honestly, don't question it.
Sidenote: In the event that you spill paint on a non-paint designated area (which may or may not have happened to me during this process - shh), I did some research and found that spraying hair spray on the spot will get it out. Since, ok, this did happen to me, and I panicked and put water on it immediately - which you should NOT do if using the hair spray method - my stain did not come out completely but the hair spray helped immensely, which leads me to believe if you spray the hair spray directly on the spot right after it happens, leave the hair spray on there for about 1 min and then use a toothbrush or some kind of scrub brush on the area, it should come out.

If you're wondering what that seam is, it's because the drop cloth came that way. The one downside of using drop cloths as drapes is that the fabric integrity is not exactly top-notch. But, you can barely see it when it's hanging, especially since the curtains are creased at the folds.
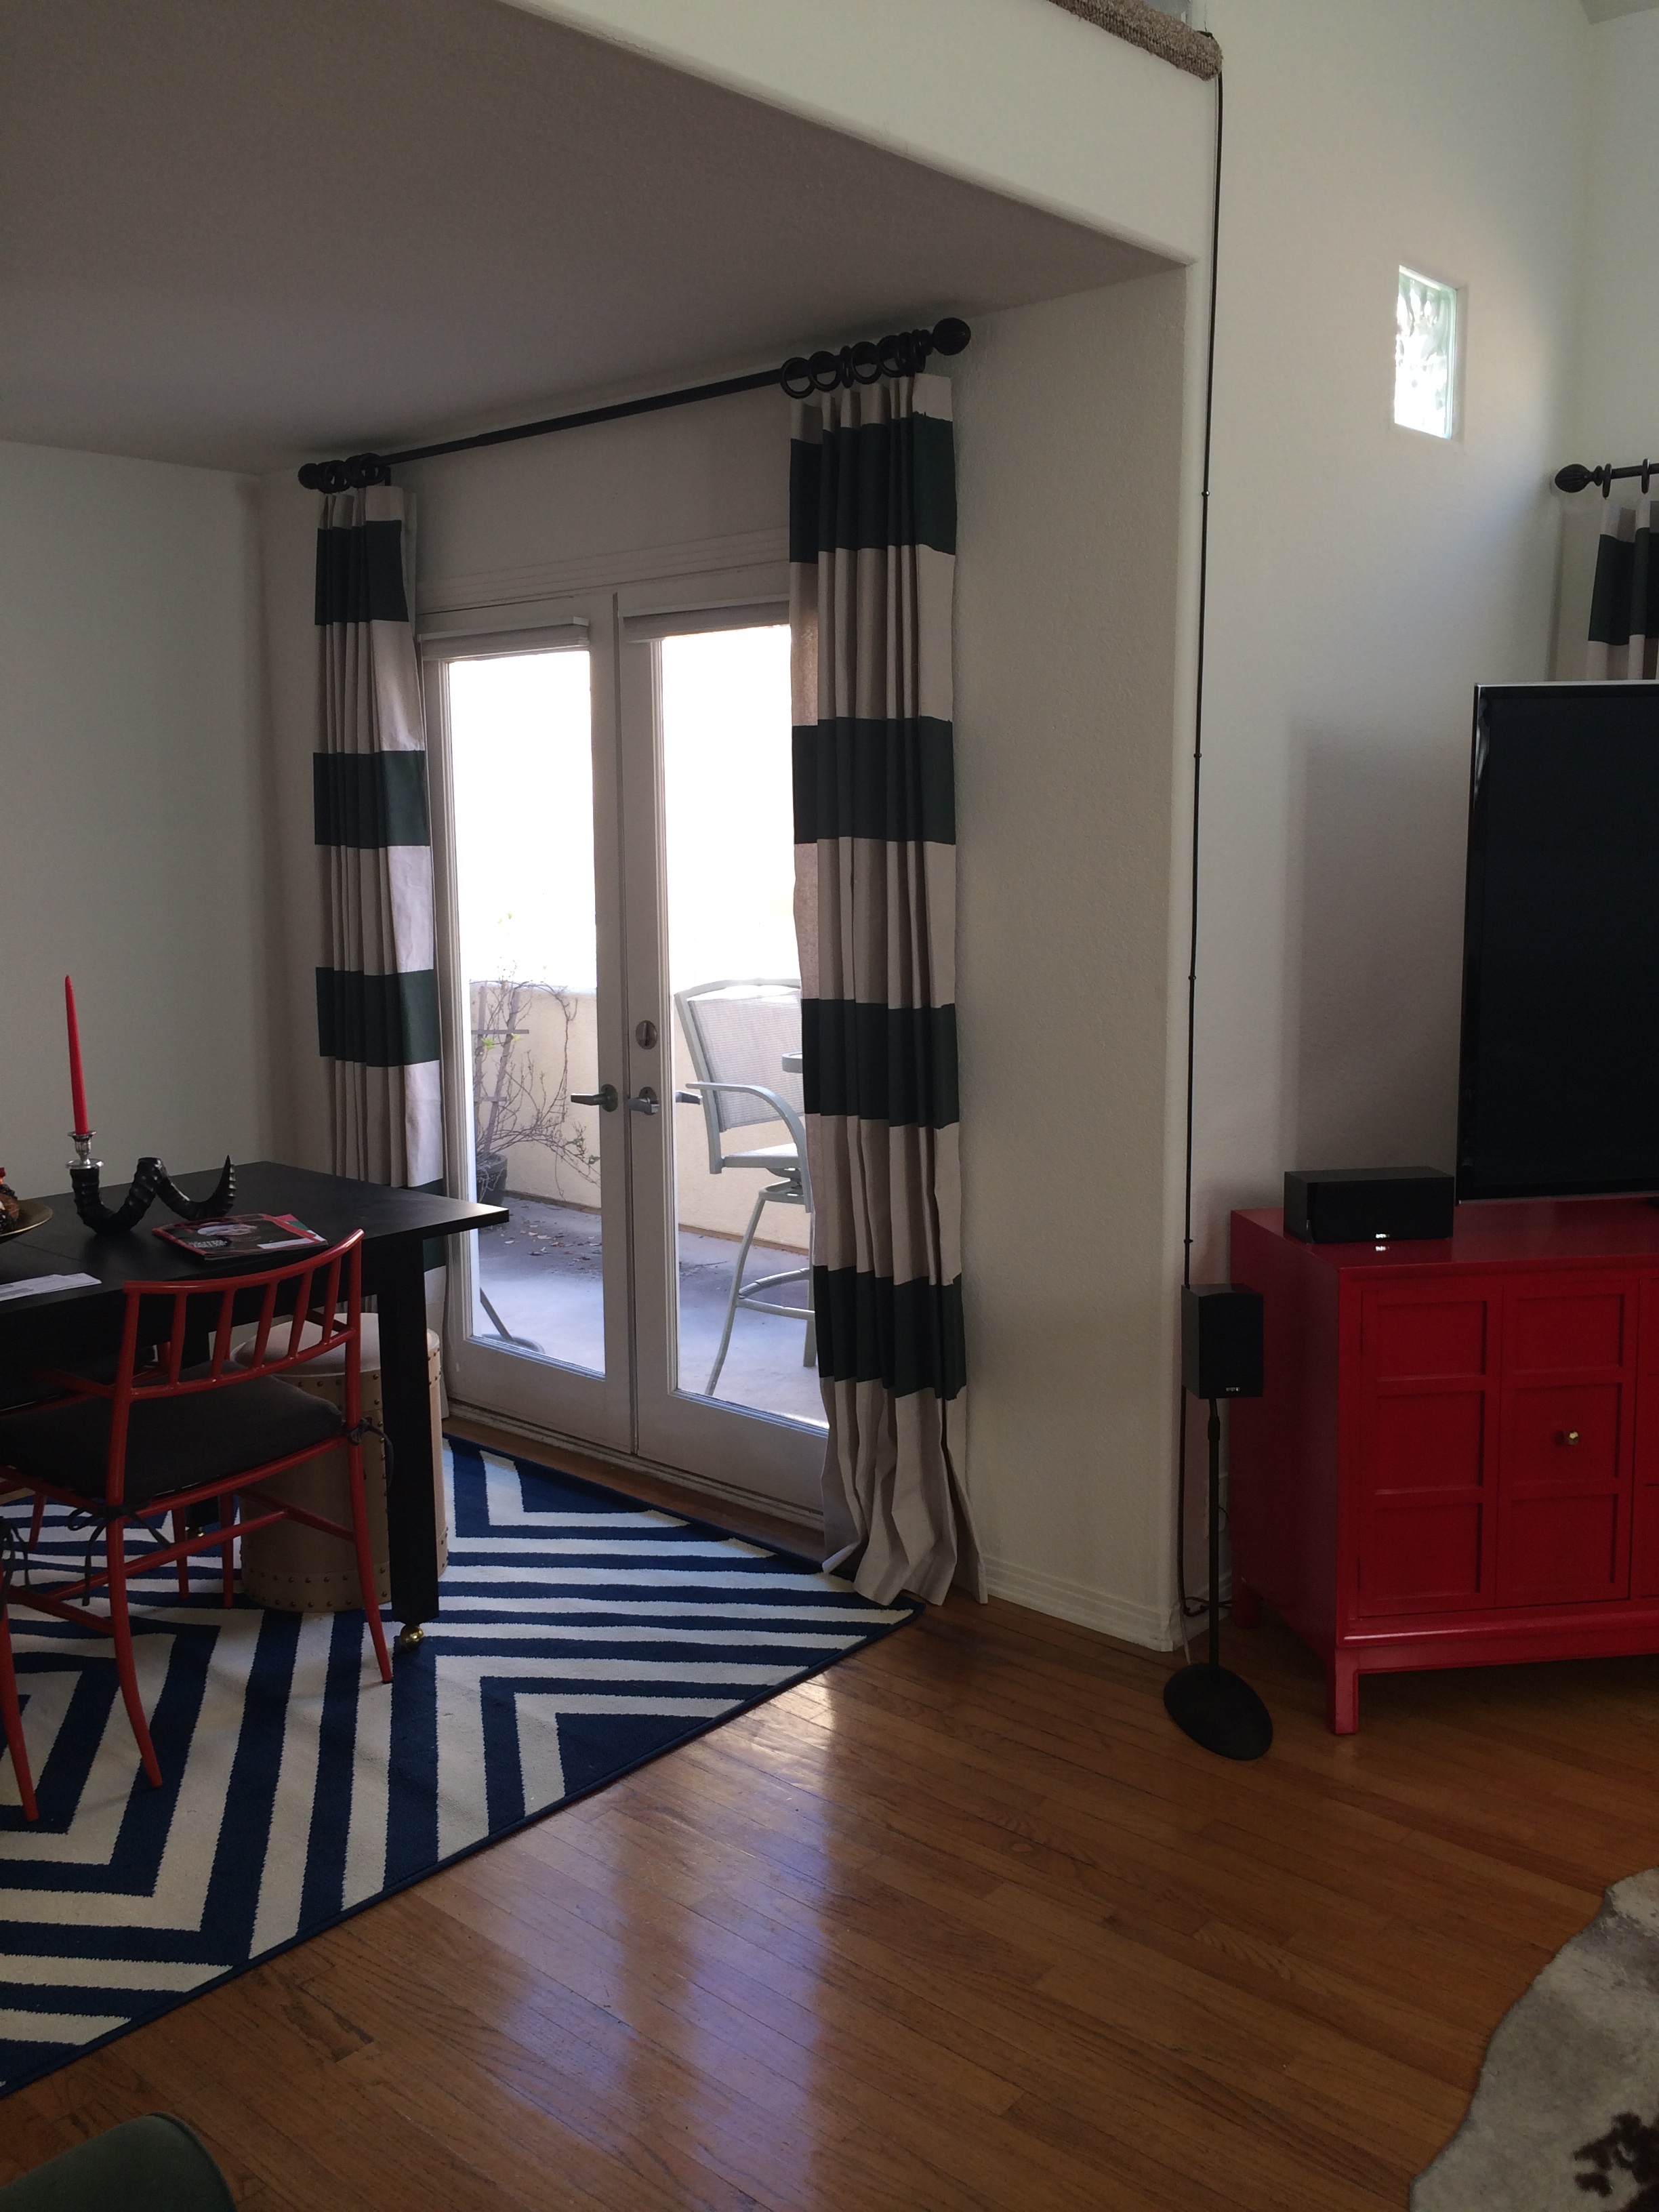
Obviously, after your paint dries, you are good to go! I opted for clip rings to hold my curtain on the bar and since I didn't want the metal clips showing, I cut small slits the height of the metal clip down on the inside edge of the fold-over hem at the top, so that I could clip the ring onto the panel behind it and have the clip hidden.
And that's the full process from my perspective :).
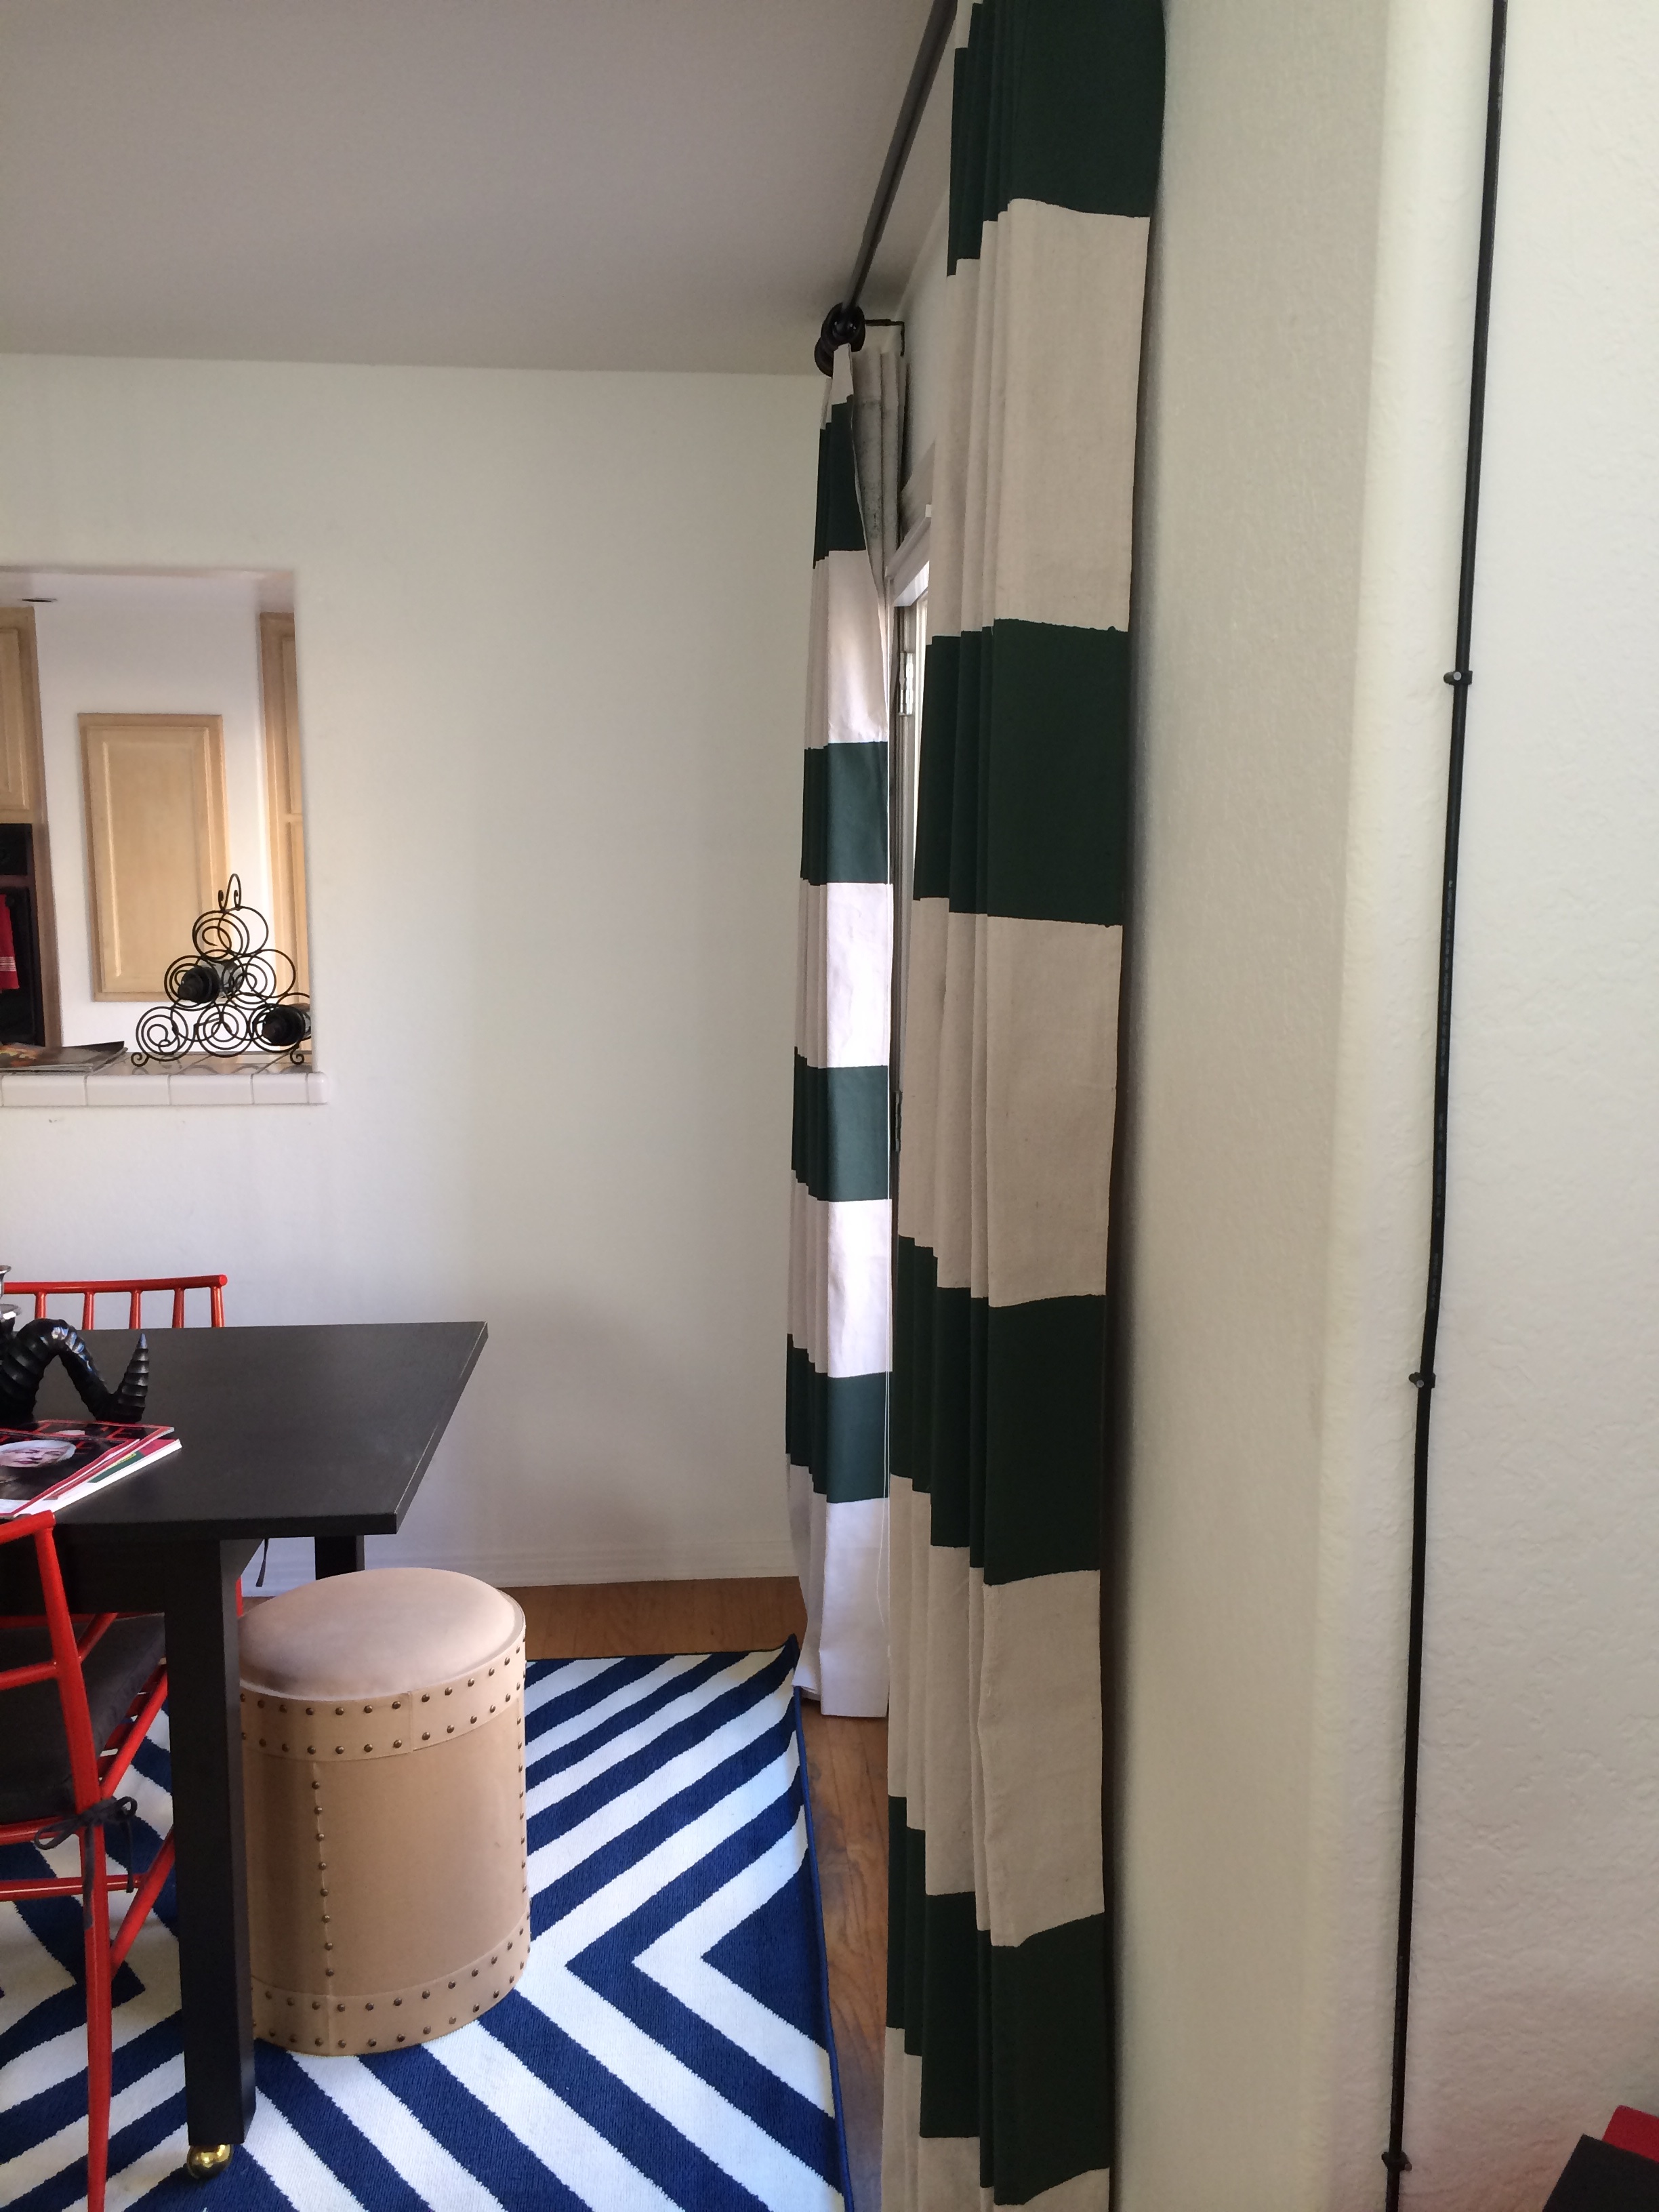
I'm very pleased with how they turned out... Much better than I expected in all honesty :).
Both my living room and my pocketbook thank me. And for that, I feel quite satisfied.
Check back tomorrow for the other project reveal. (SUSPENSE)